
Customize your view, search the transcript, and add notes during a LiveLitigation event.
Open the link in your email invitation and follow the prompts to confirm your email and check your camera and microphone. The full joining walkthrough is in How to Attend an eSuite Deposition.
The first control in the bar reads Scroll On while the transcript follows the court reporter live. Tap it to pause and read back (it changes to Scroll Off), and tap it again to catch up.

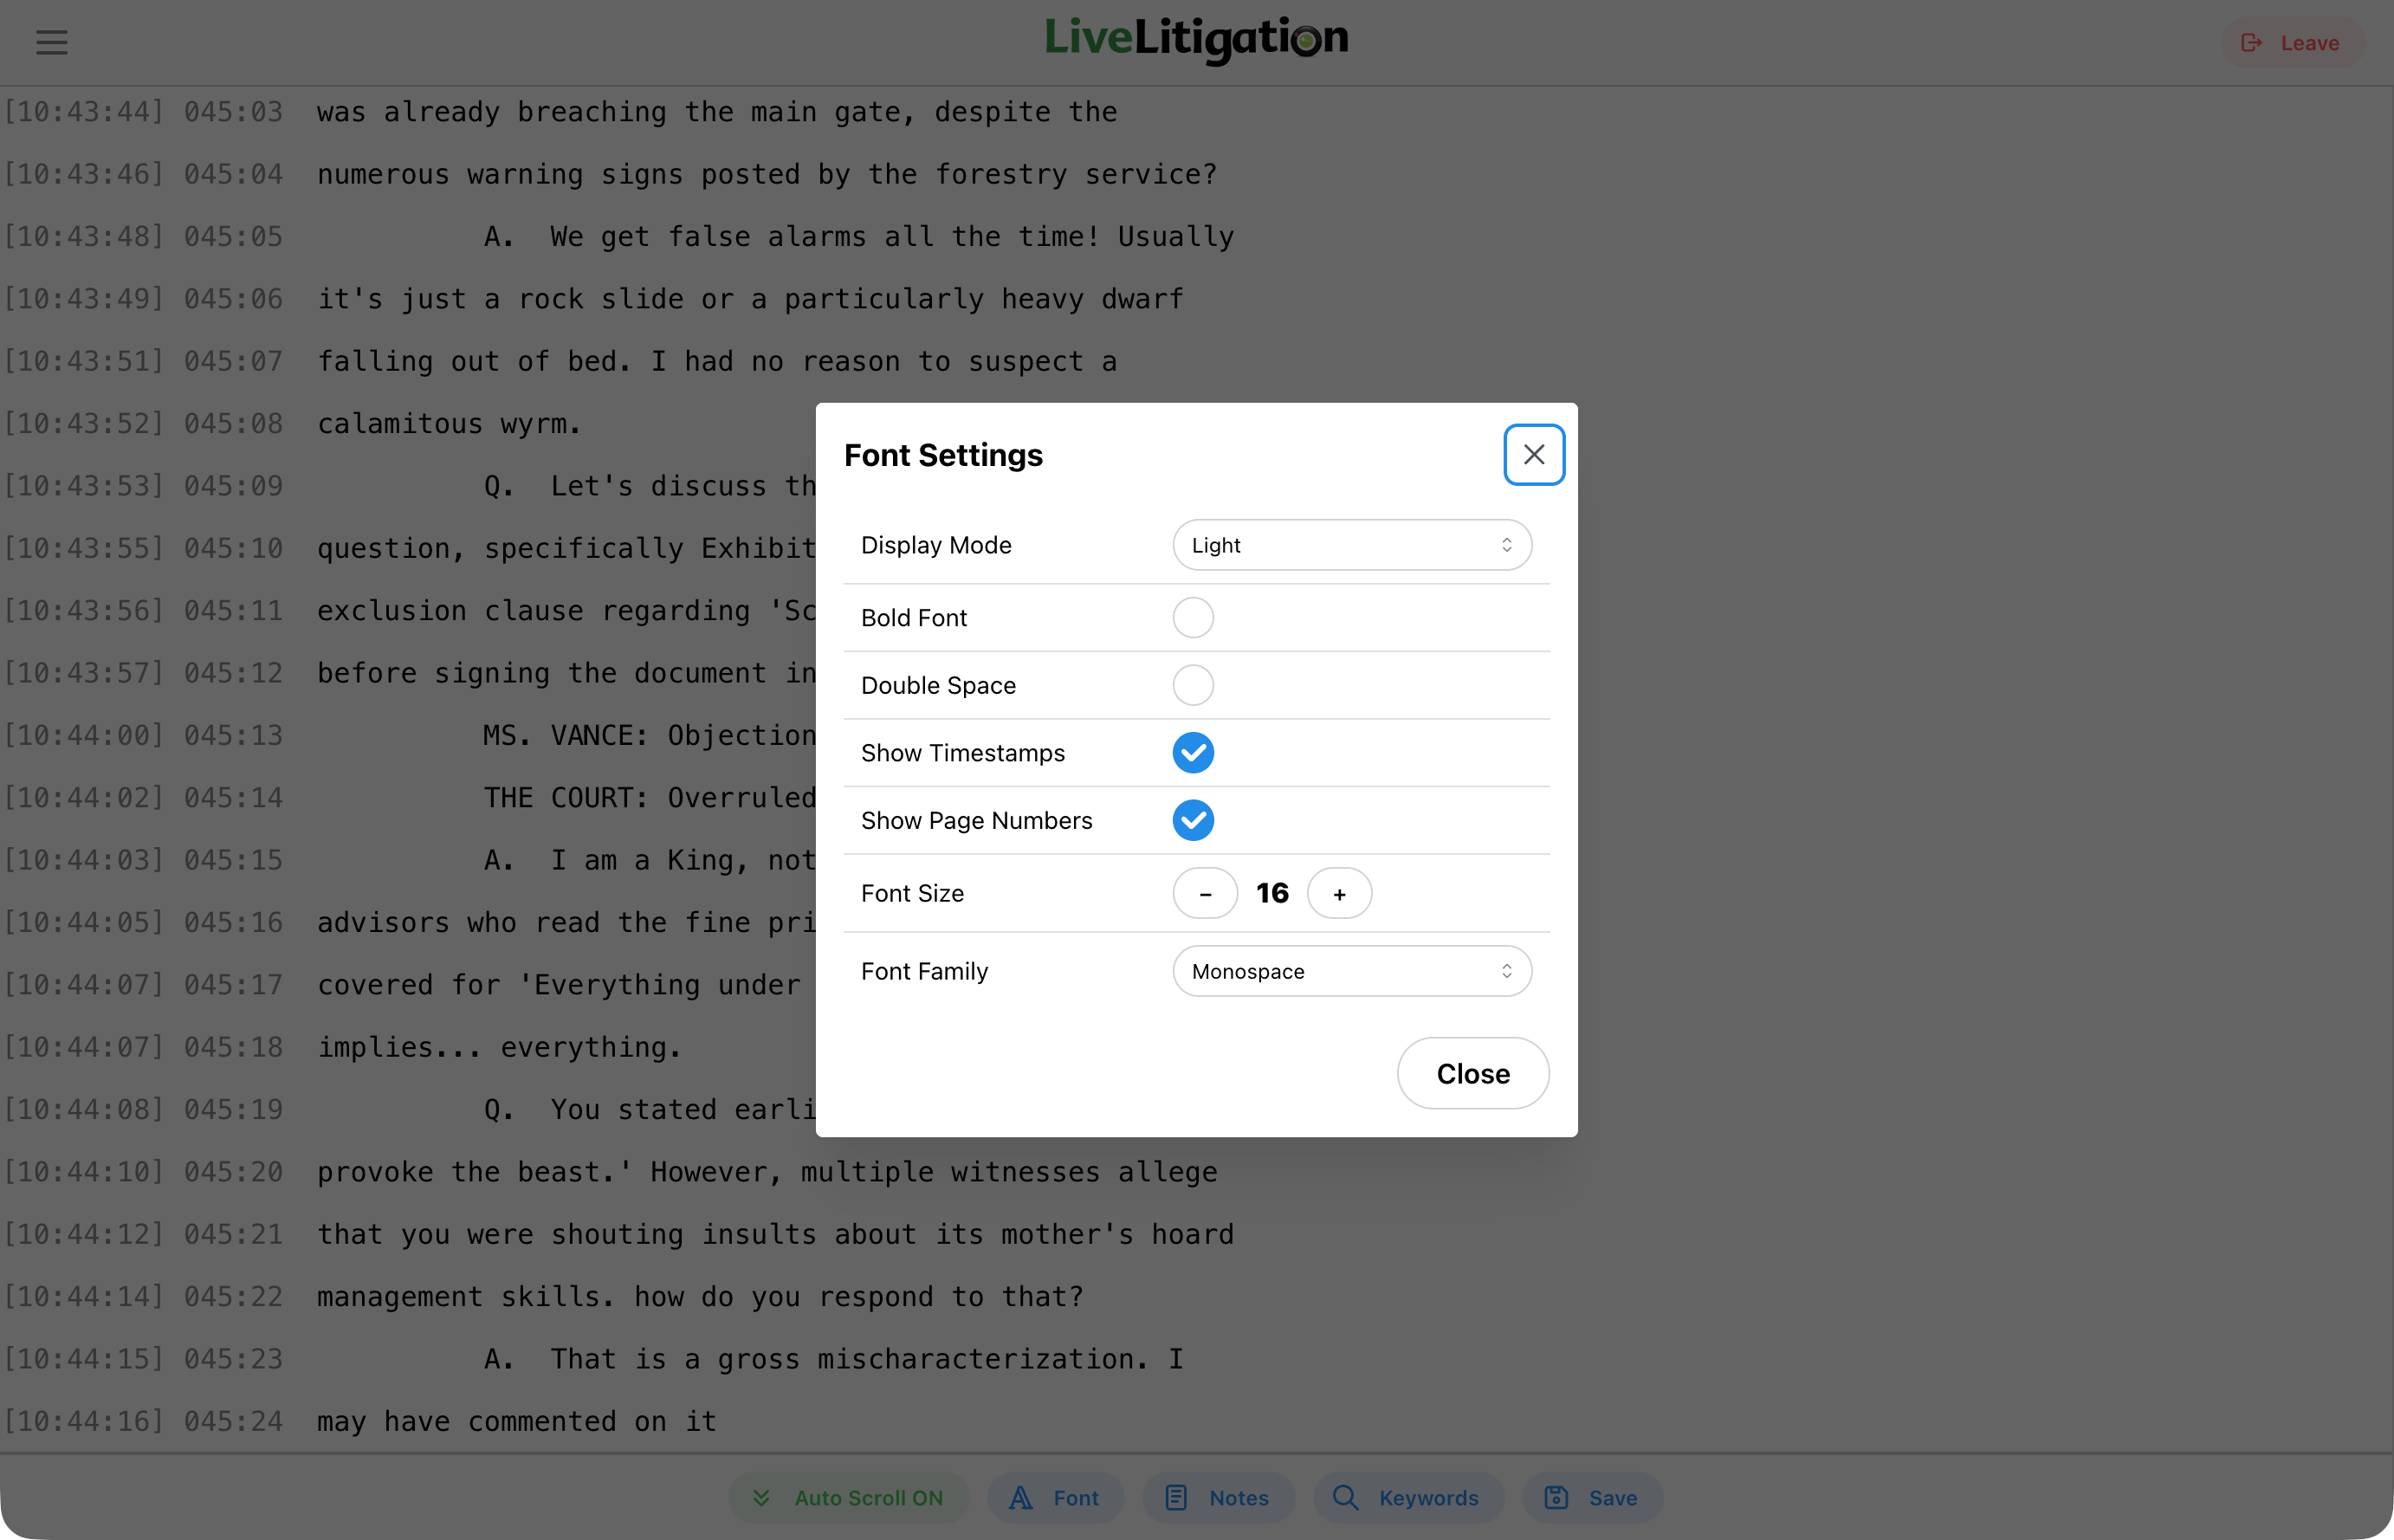
Use the Font Settings to customize the transcript appearance:
These settings are remembered in the browser you are using, so they are still in place the next time you join from the same computer.
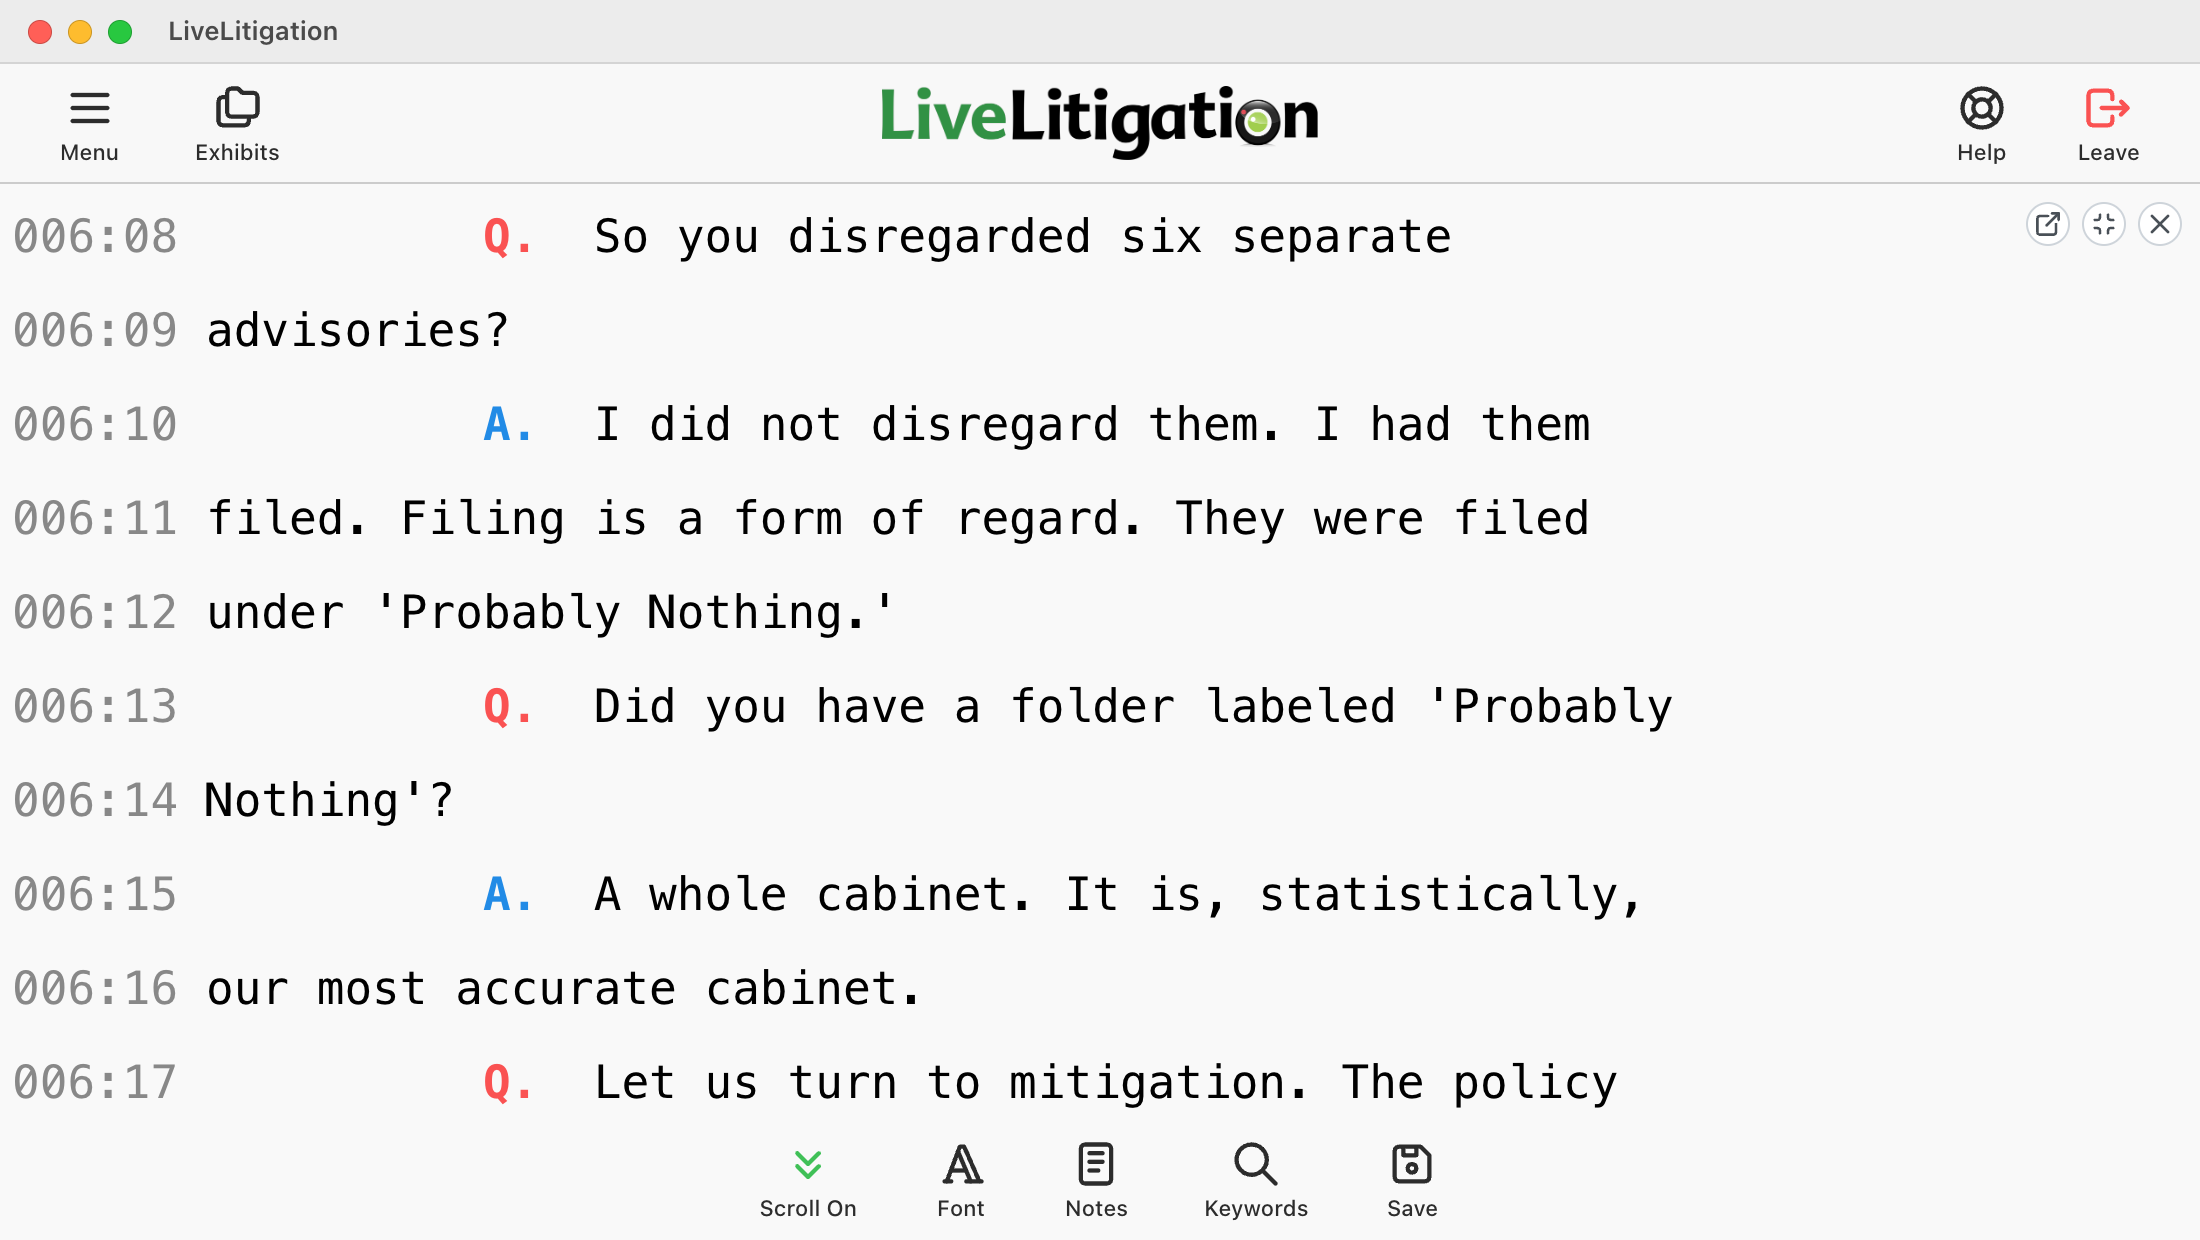
With Color Q and A on, you can see at a glance where each question and answer begins: questions in red and answers in blue, unless you choose other colors. It stays off until you turn it on, and only the label is colored, never the testimony.
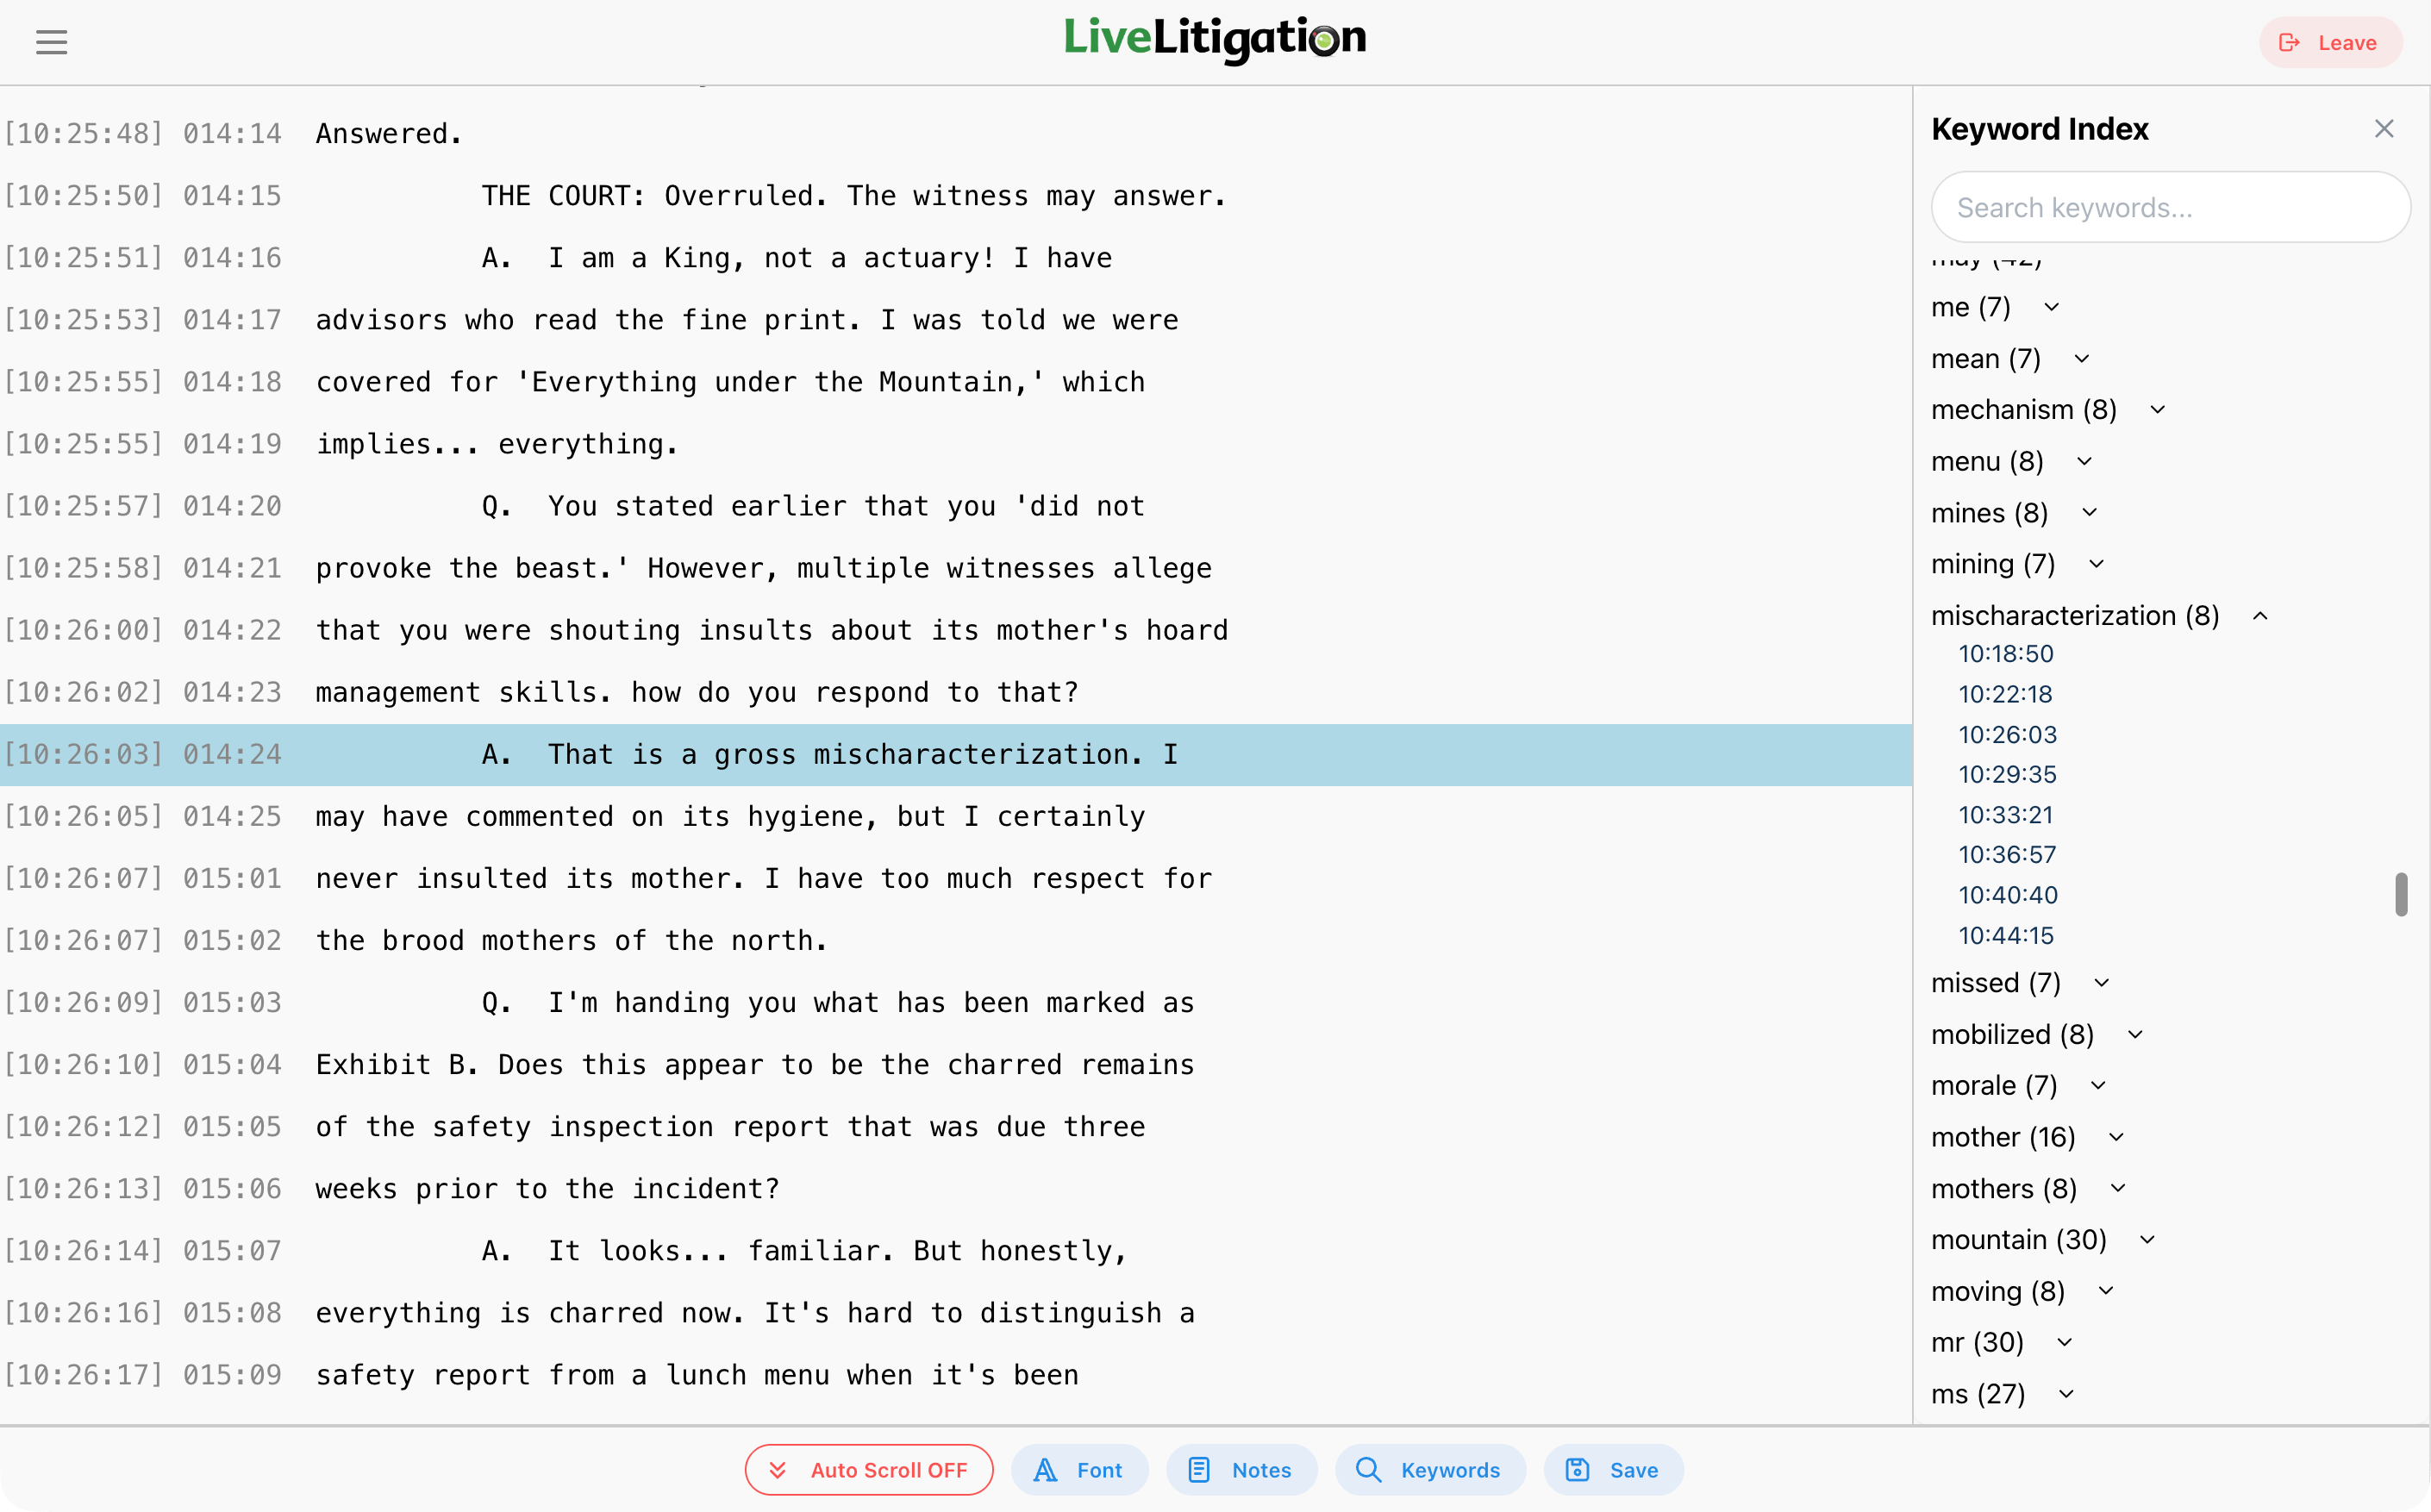
Use the Keyword Index to find terms in the transcript. The search finds all iterations of a word (e.g., "stream" finds "Streaming" and "streams").
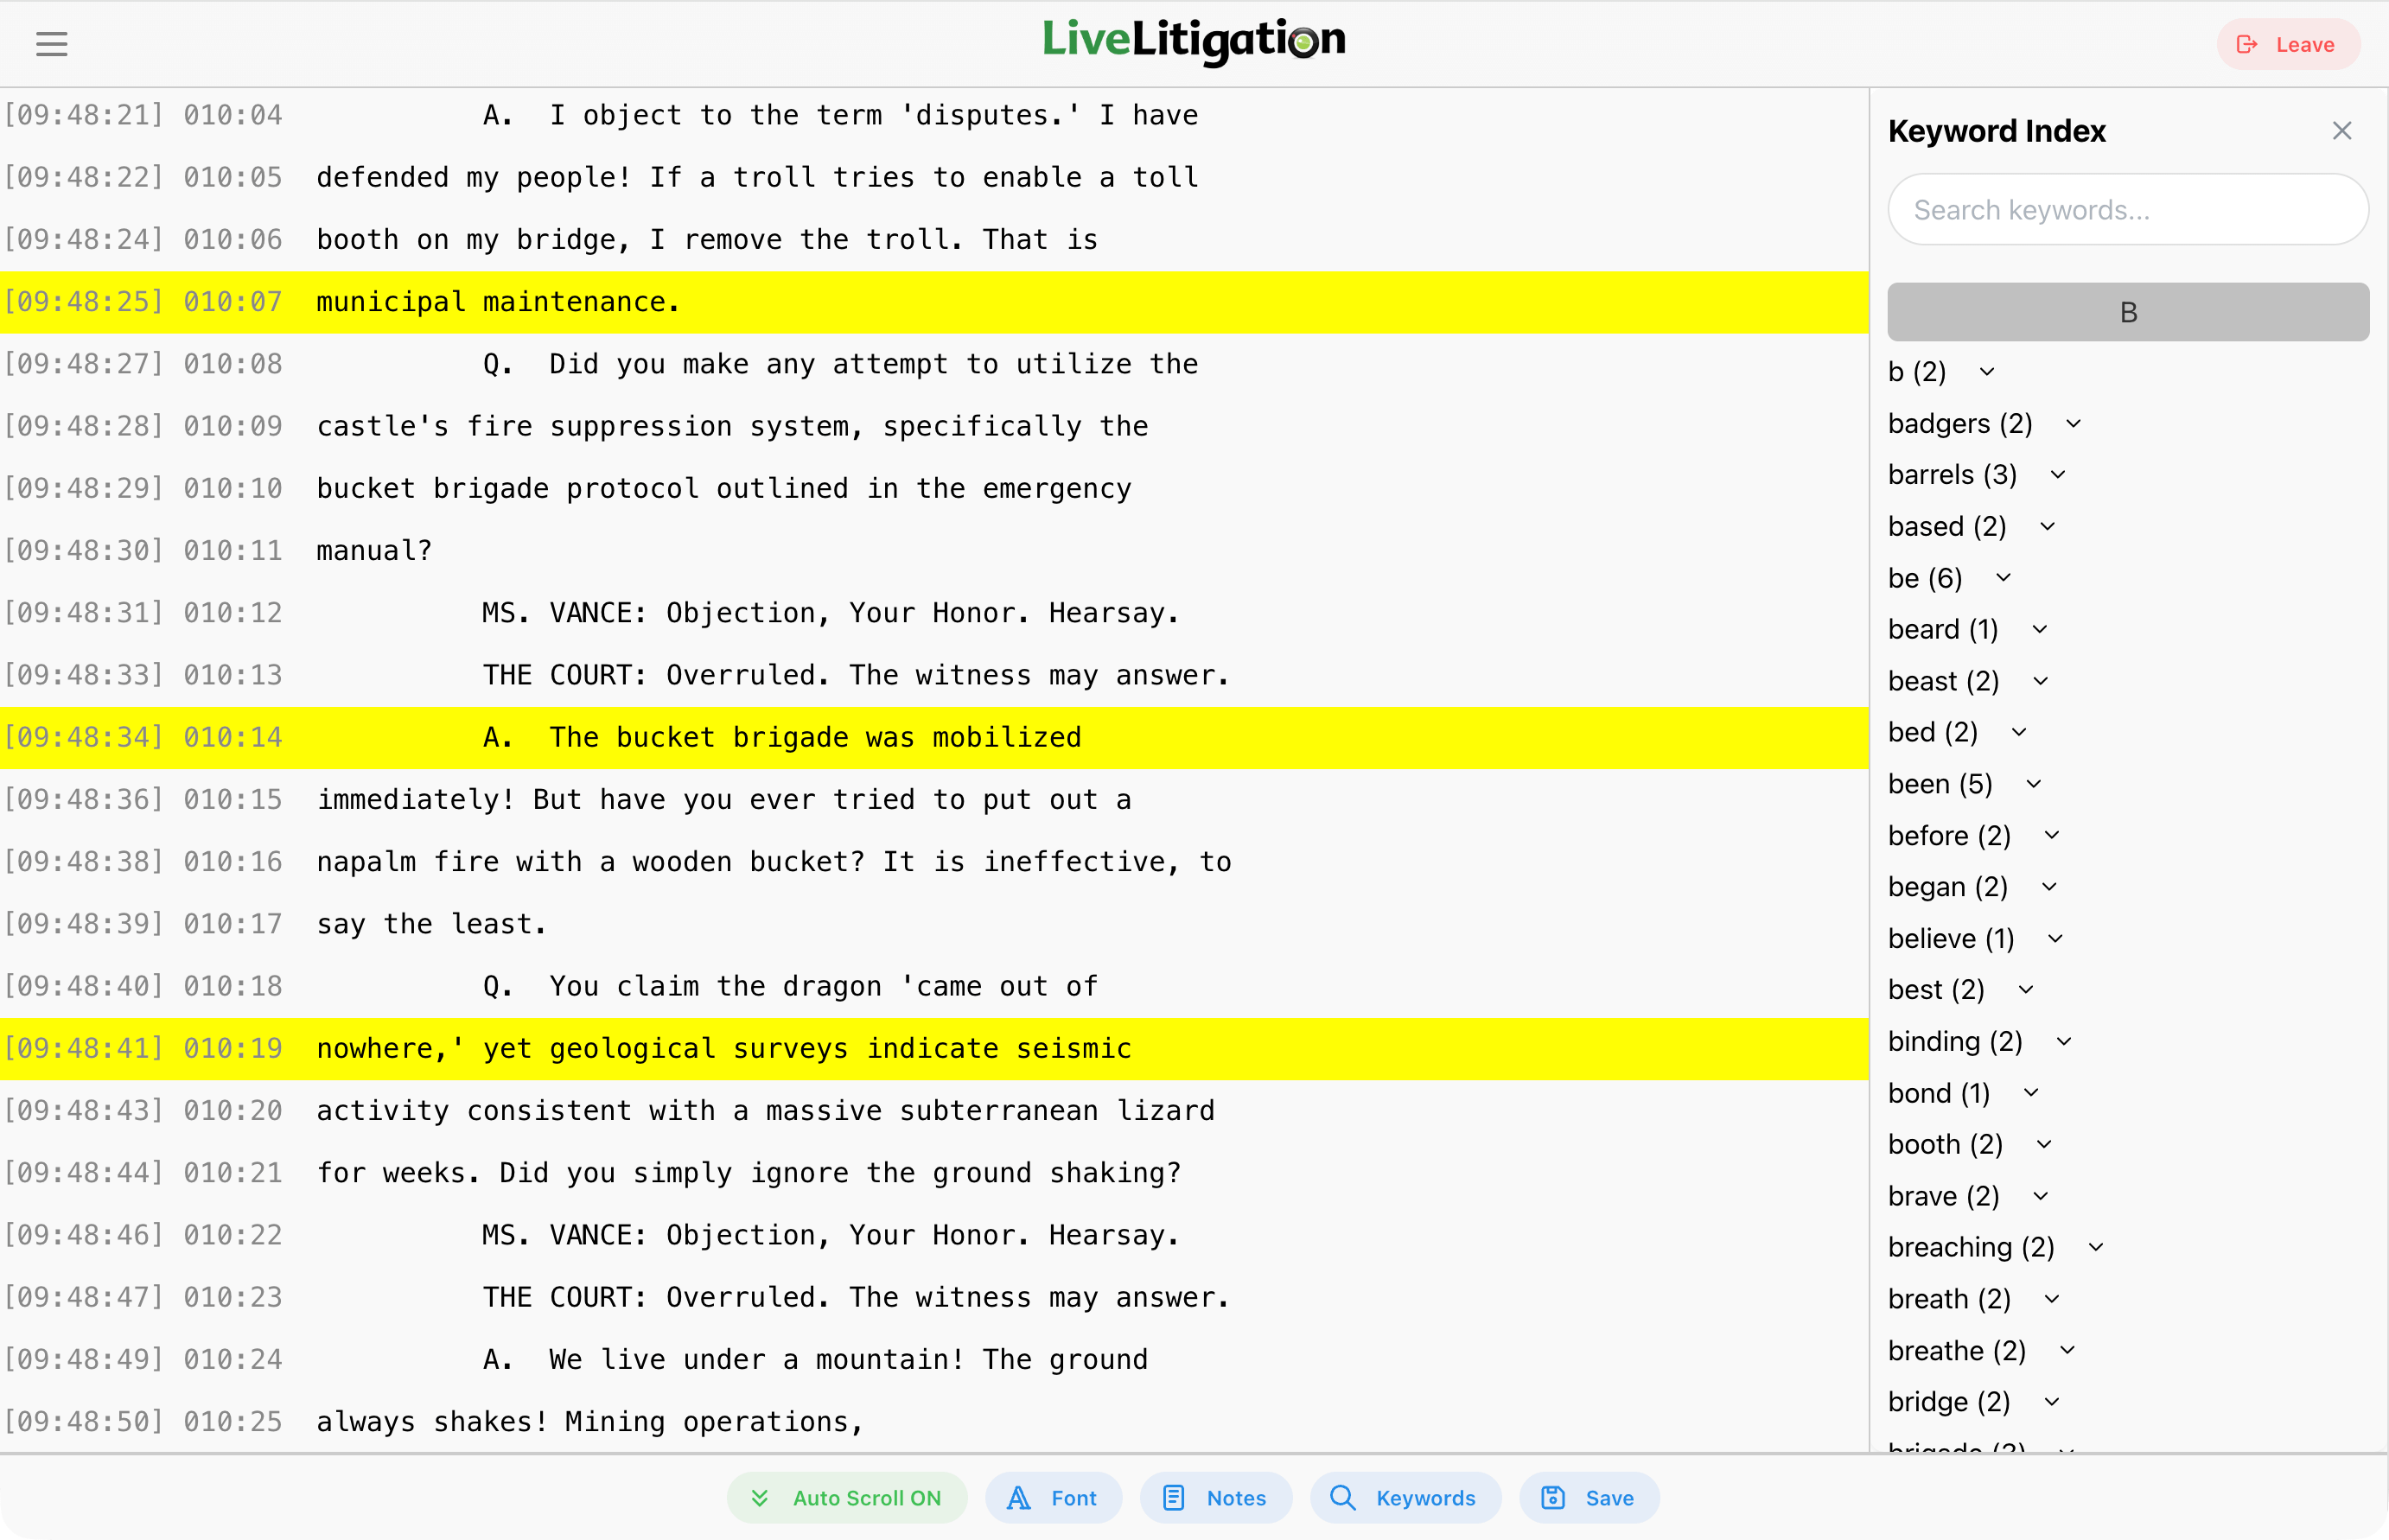
Jump directly to the line of transcript where the keyword appears by clicking on the keyword and then a timestamp.
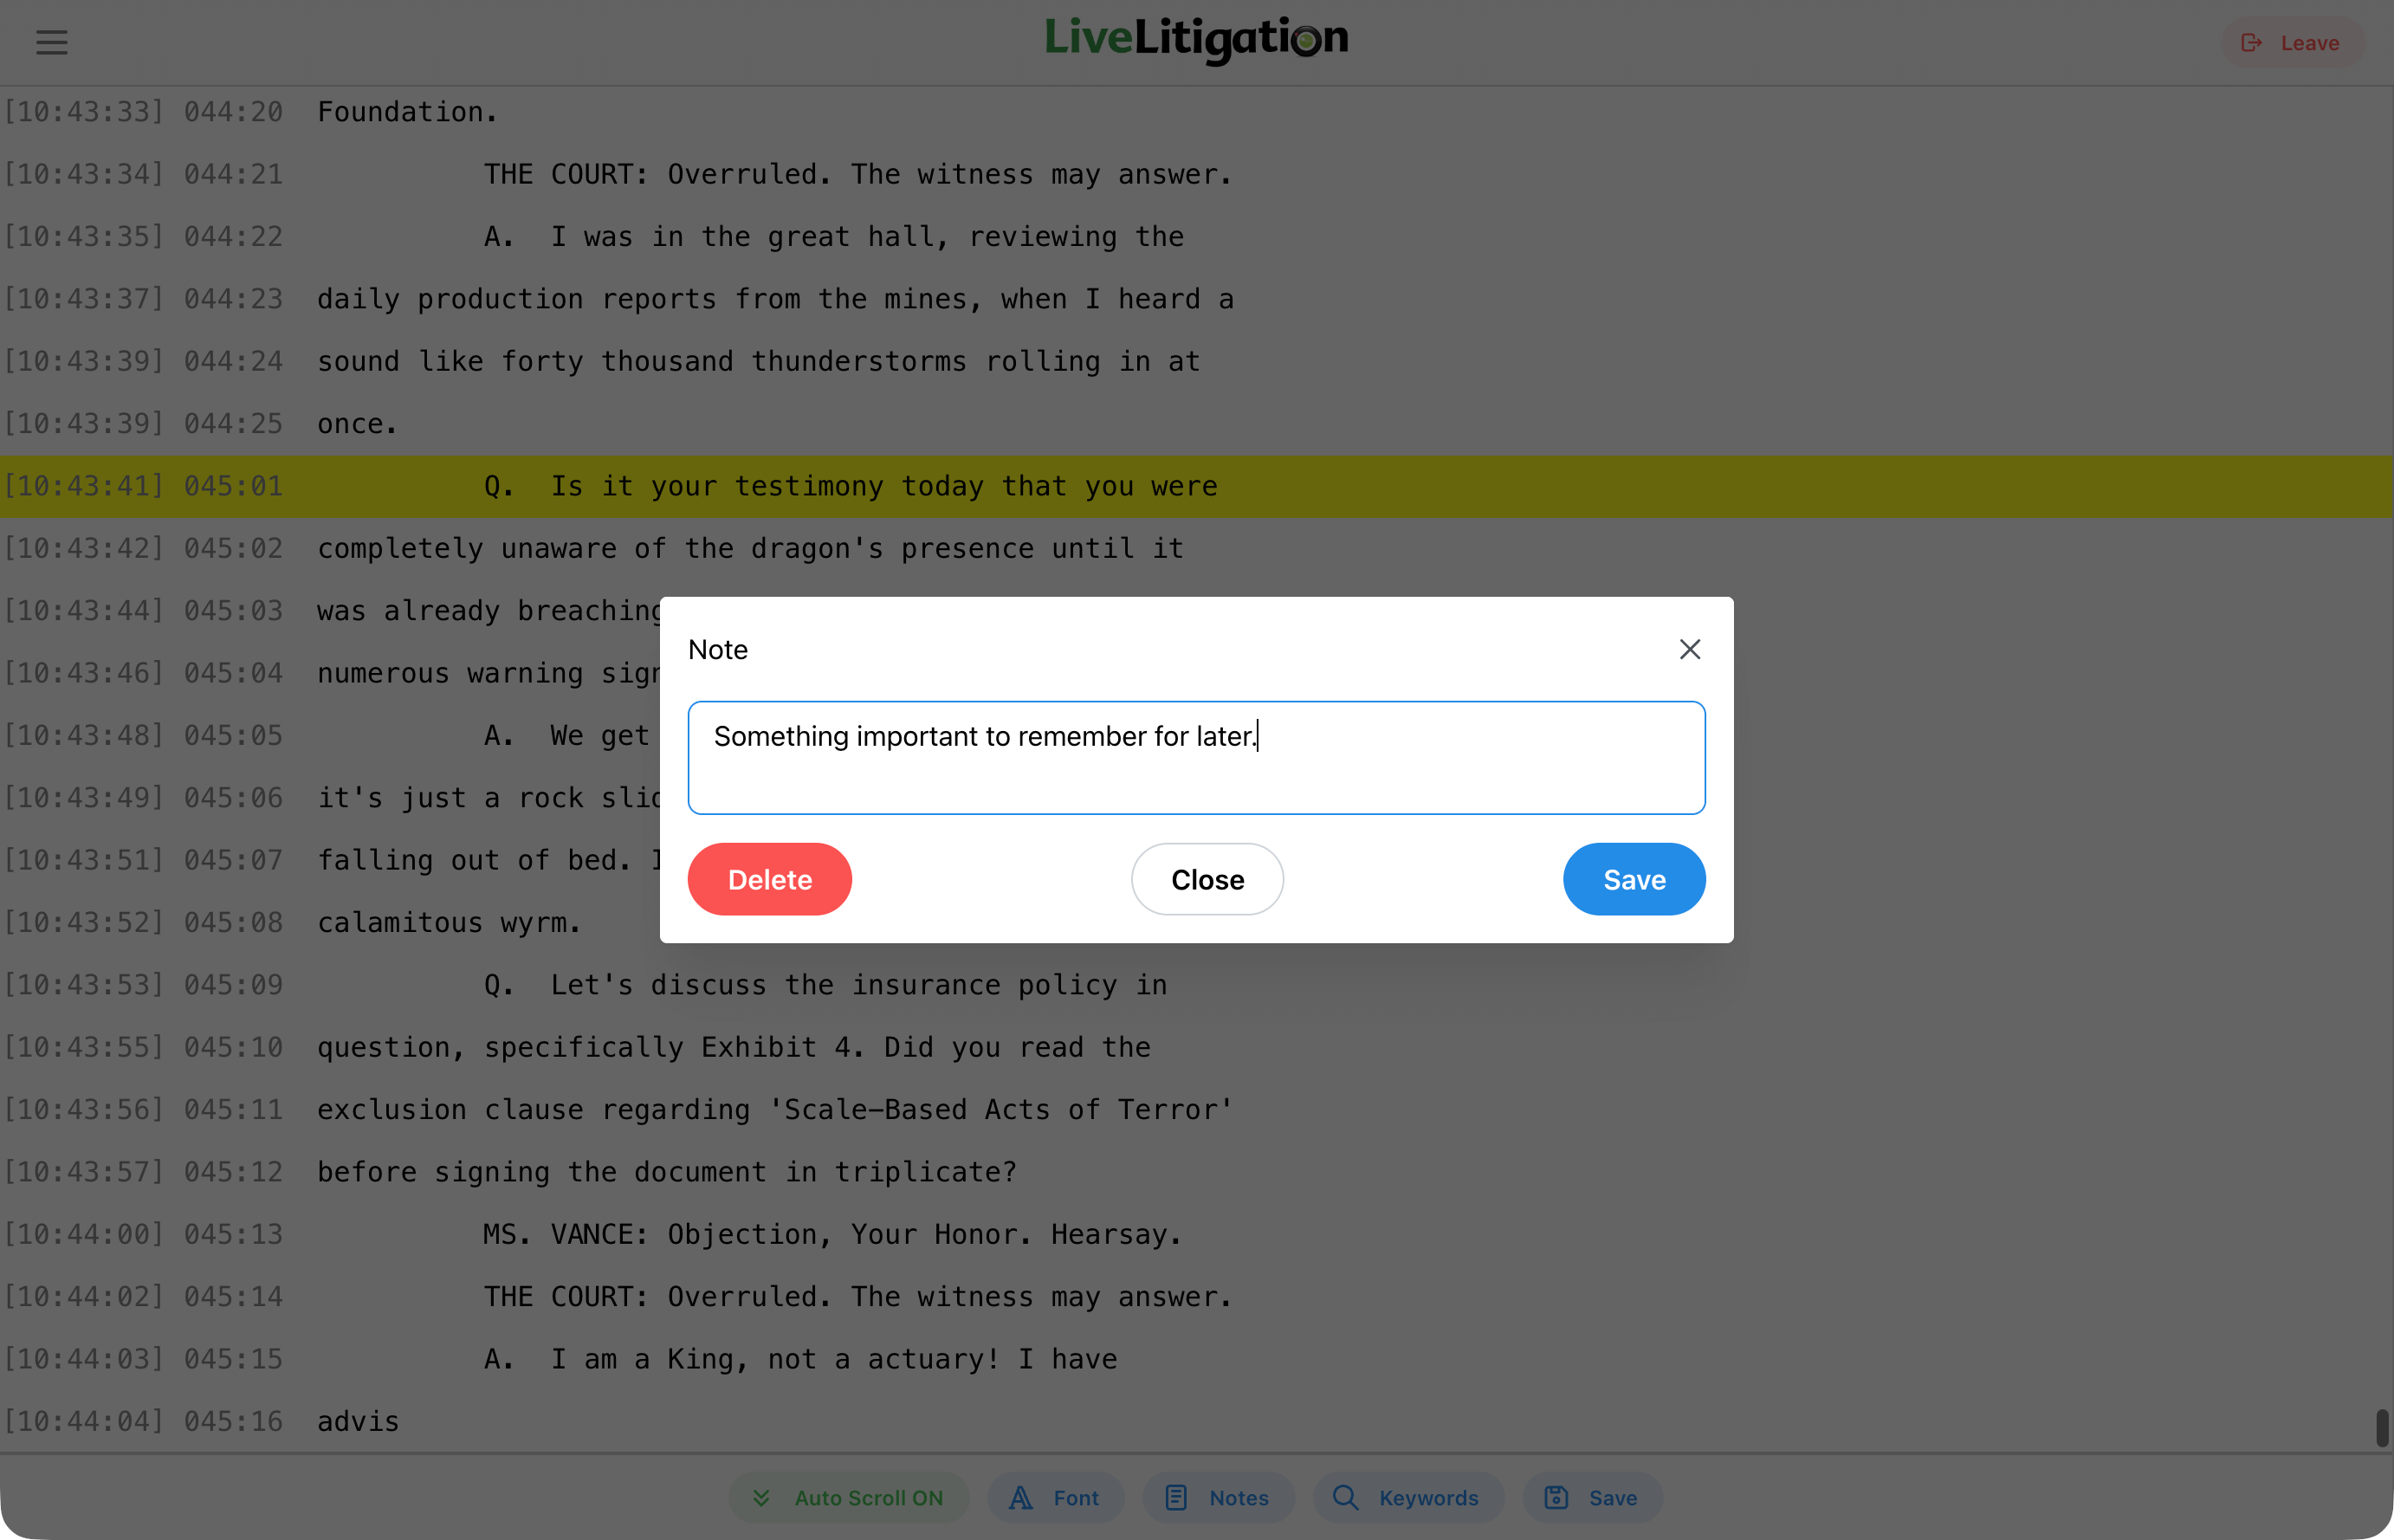
Click or Tap on any line in the transcript to add a Realtime Note. This highlights the line for later reference.
Each note carries a Highlight color, so you can separate one line of enquiry from another as you go. Use Change Color to recolour a note you have already made.
Click or Tap the highlighted line again to edit the note, and use Delete to remove it.
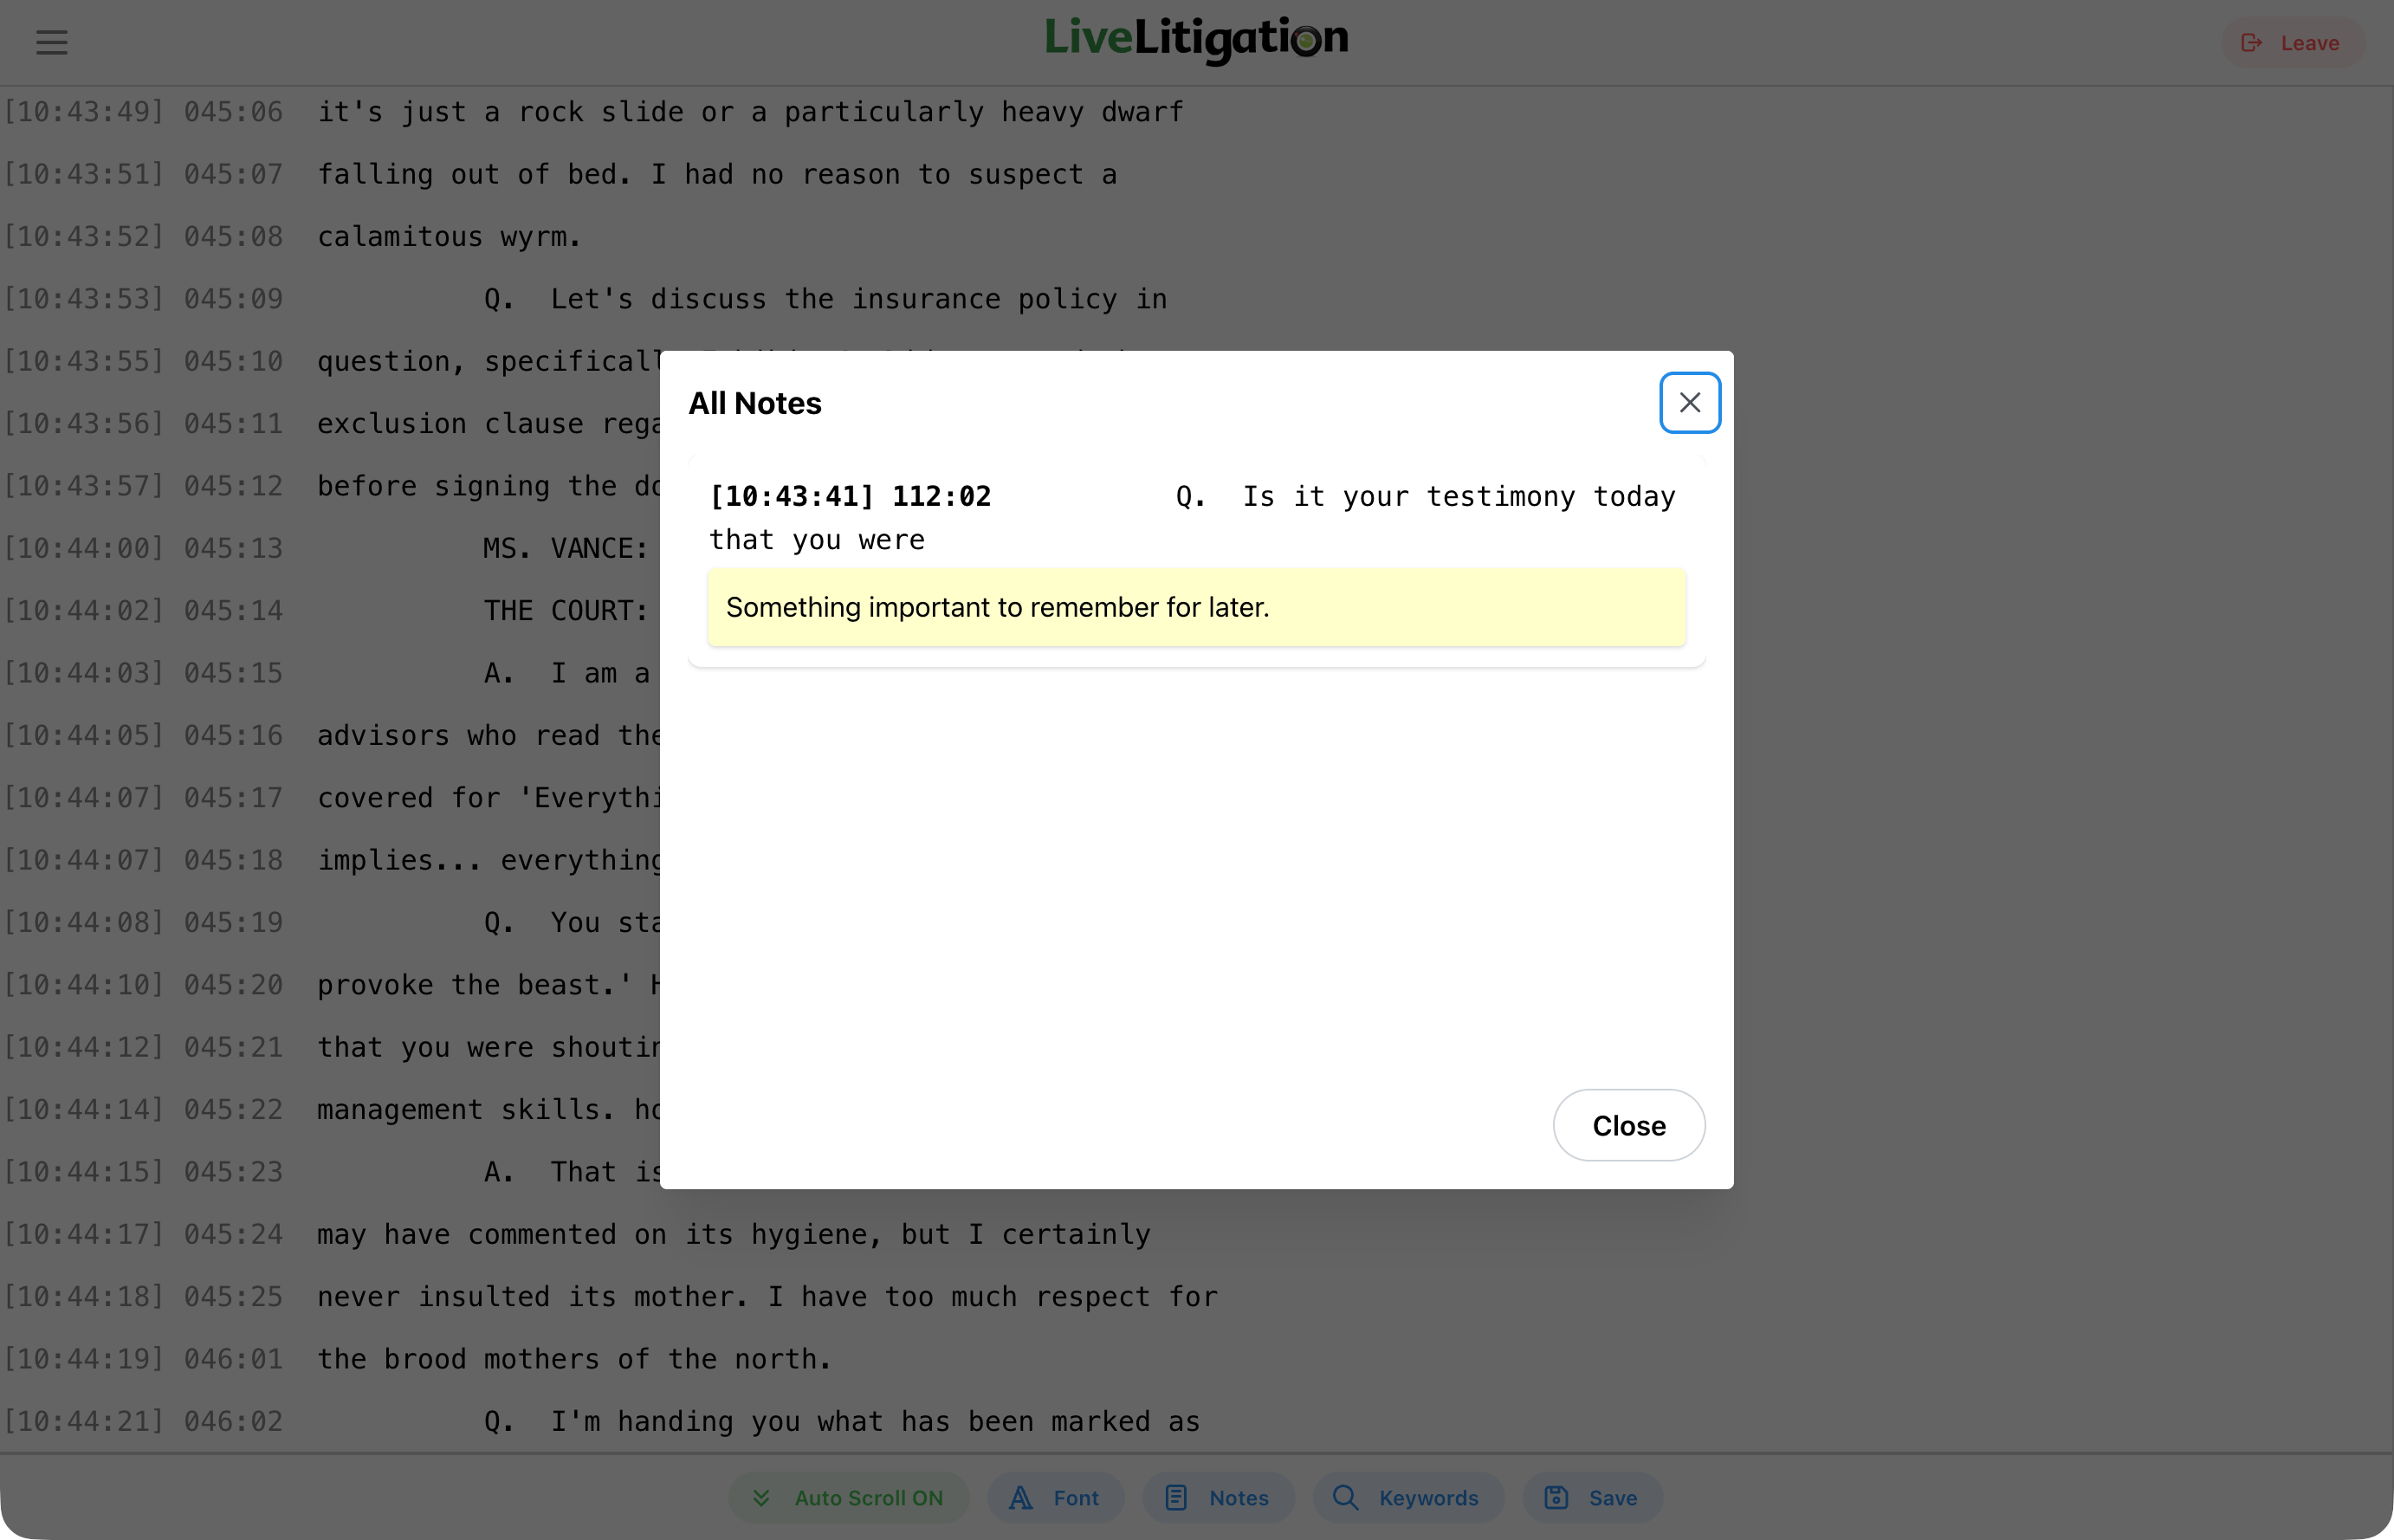
Click or Tap the Notes button to view a list of all your highlighted lines and annotations.
From here you can Download PDF to save just your notes, which is a separate document from the transcript itself and needs no export code. Clear All removes every note at once.
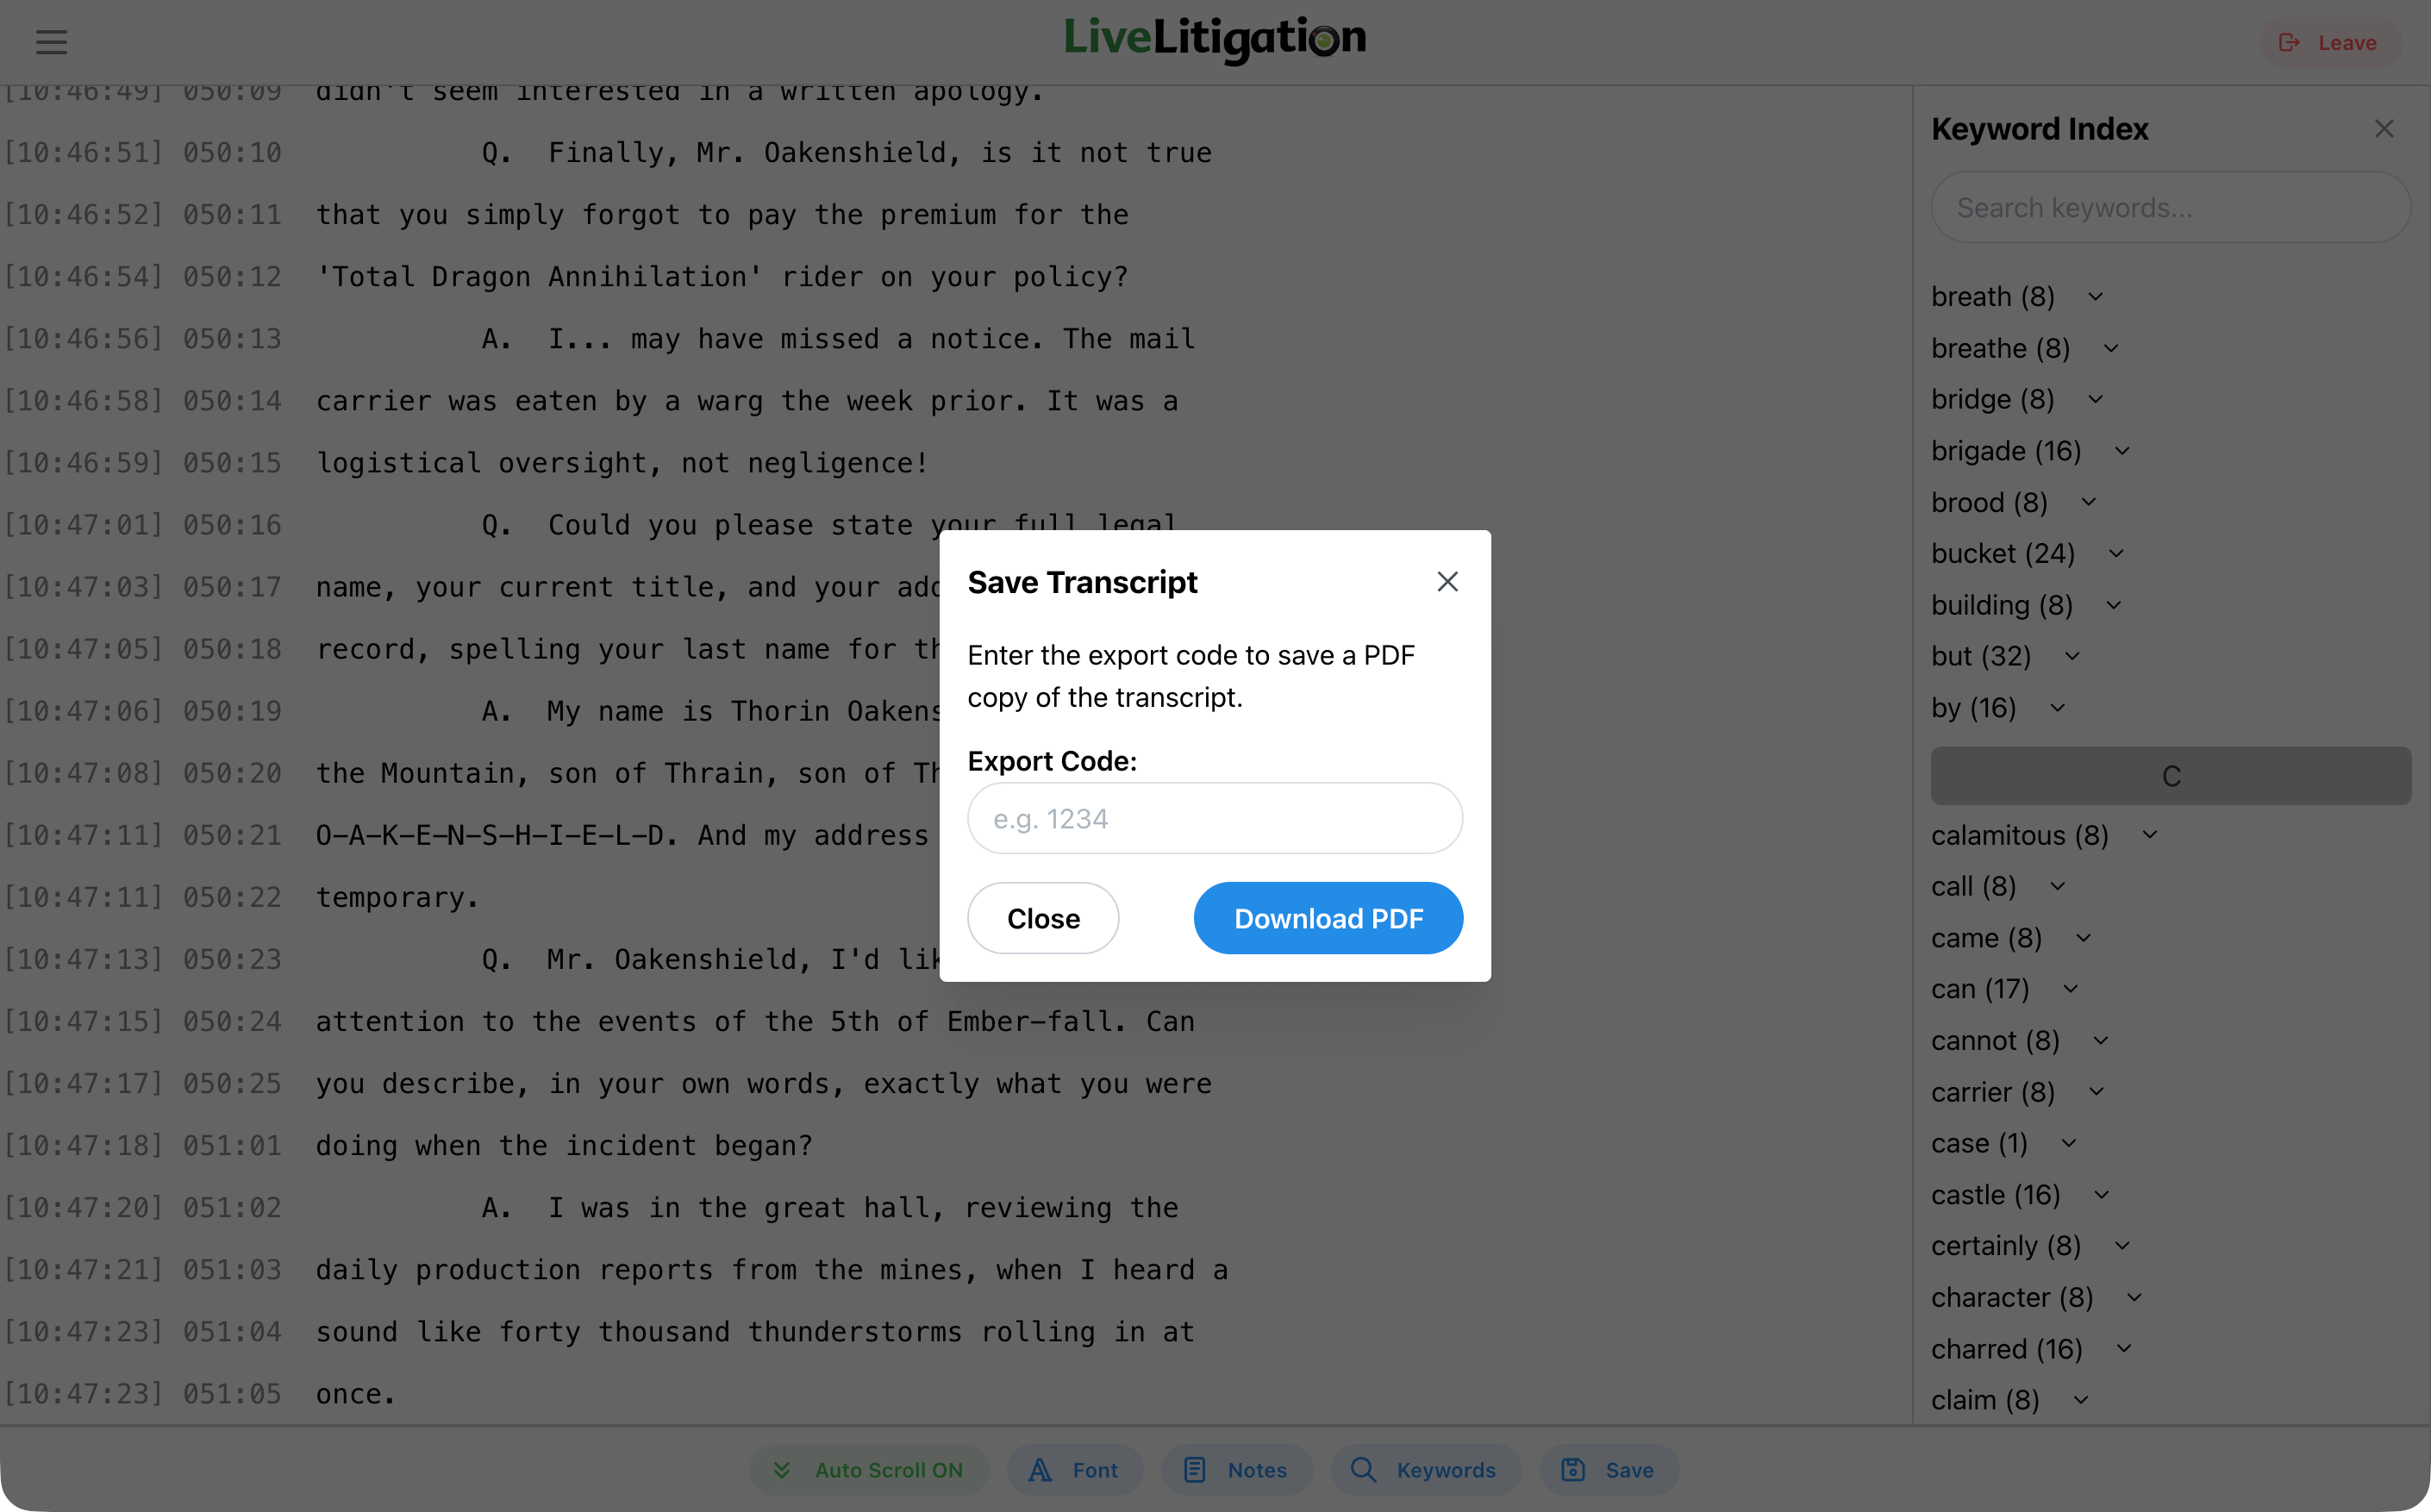
Click Save in the control bar to download a PDF copy of the transcript.
Enter the Export Code provided by the court reporter to download the transcript.
The three buttons in the top-right corner of the transcript change how it sits in the room. Pop out moves it into its own window, Captions only shrinks it to a strip of the latest lines, and Close transcript puts it away.
To bring a closed transcript back, click Transcript in the room header or choose it from Menu.
Explore the platform